Now, it would be amazing to add a very simple modification to make this work dramatically better!
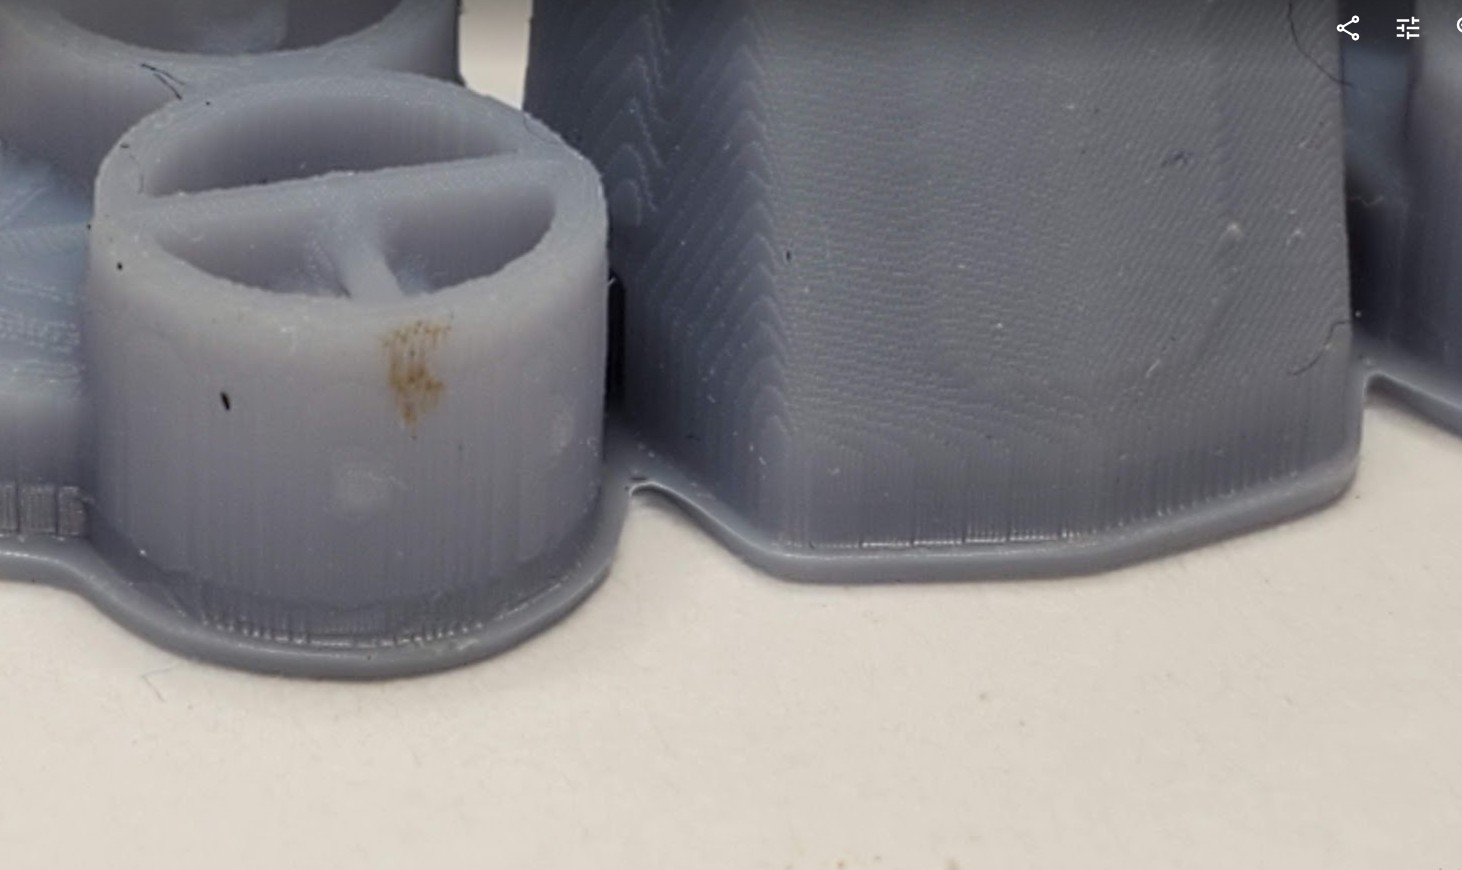
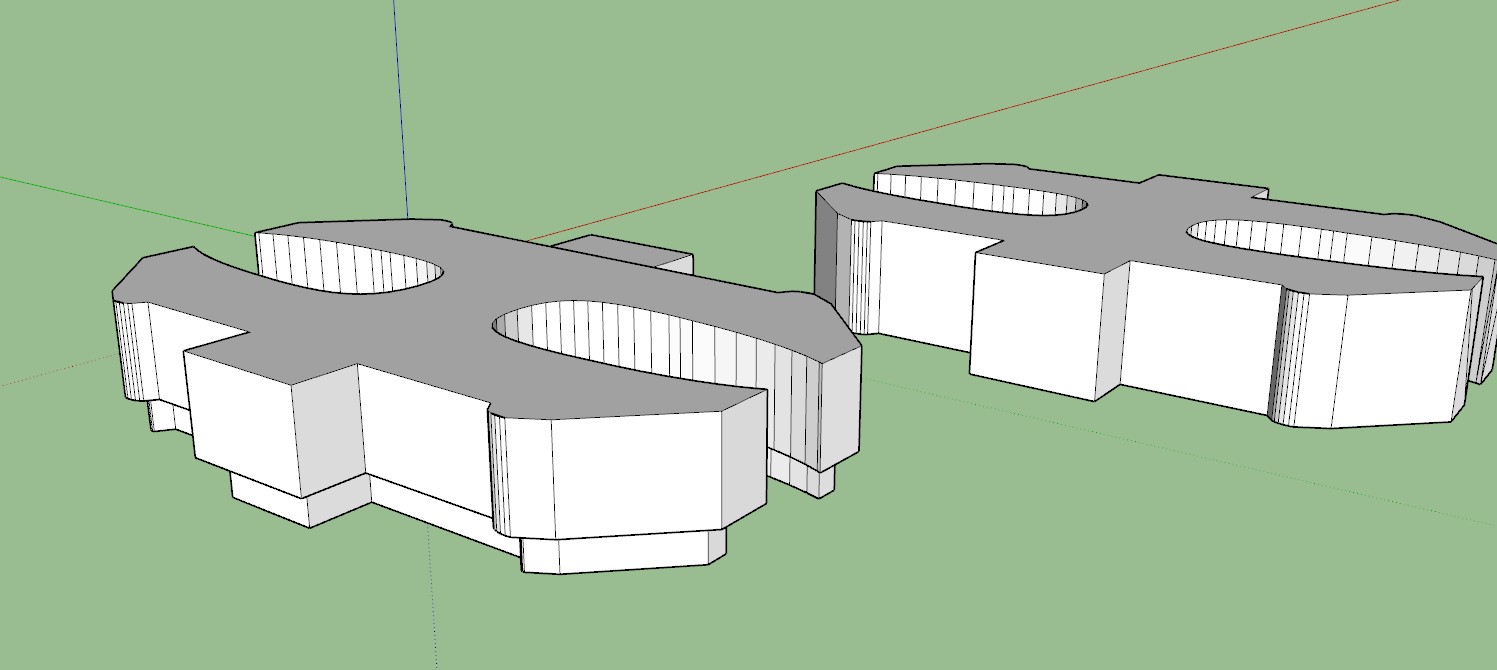
The problem is that you lose any surface detail when the image re-expands into the contracted area. So, for example, if a gear has teeth less than about 1 or 2 mm in size, the layer in the printed model with not have those teeth but instead a smooth, round cylinder or just sine-wave edges approximating the gear. So, instead:
-Simply, before moving the build plate but after exposing the contracted layer, expose the original layer (before contracting it) for the exposure time of a standard layer (non-bottom layers).
To be more precise, the you would expose image mask of the contracted layer for the Bottom Layer Exposure time minus the Layer Exposure time, and then, without moving the build plate, display the image mask of the original layer and continue to expose for the Layer Exposure time. For example, if the Bottom Layer Exposure is 40 seconds, and the Layer Exposure time is 1.8 seconds, then expose the contracted mask for 40-1.8 = 38.2 seconds, then display the original layer mask without moving the build plate, and continue exposing that for 1.8 seconds more.
This way, the outer contours only get exposed for the time of a non-bottom layer, so it will not expand any more than a non-bottom layer
Of course, this will not work in areas with very narrow build plate contact or areas where the contact is all very detailed. But the user could try it, and if it looked like too much of the contact area was lost, or the area of high-detail was too wide, they could decide to use supports or a raft instead. Alternatively, it wouldn't take too much work to create an algorithm to let the user know if a raft would be better. I could envision software that automatically created rafts or did contracted dual-exposure like above automatically.
Also, you could ask the user to specify an expansion distance and just contract that much, assuming that they will specify a distance that will prevent expansion into the surface detail. Or a simple algorithm could be used to contract the layer the right amount as follows:
1) Move around the outer and inner contours of an original layer mask
2) For each pixel along those contours, erase from the mask a circle with radius = material contract distance + a small amount (0.5 mm or so)
3) The resultant image is the contracted image to expose for Bottom Layer Exposure - Layer Exposure and the material will not expand into any areas of detail.